前置环境
| 操作系统 | IP | 主机名 |
|---|---|---|
| Rocky Linux release 9.4 (Blue Onyx) | 192.168.2.100 | master |
| Rocky Linux release 9.4 (Blue Onyx) | 192.168.2.101 | node01 |
| Rocky Linux release 9.4 (Blue Onyx) | 192.168.2.102 | node02 |
切换源
使用脚本一键切换源
bash <(curl -sSL https://linuxmirrors.cn/main.sh) \
  --source mirrors.aliyun.com \
  --branch rockylinux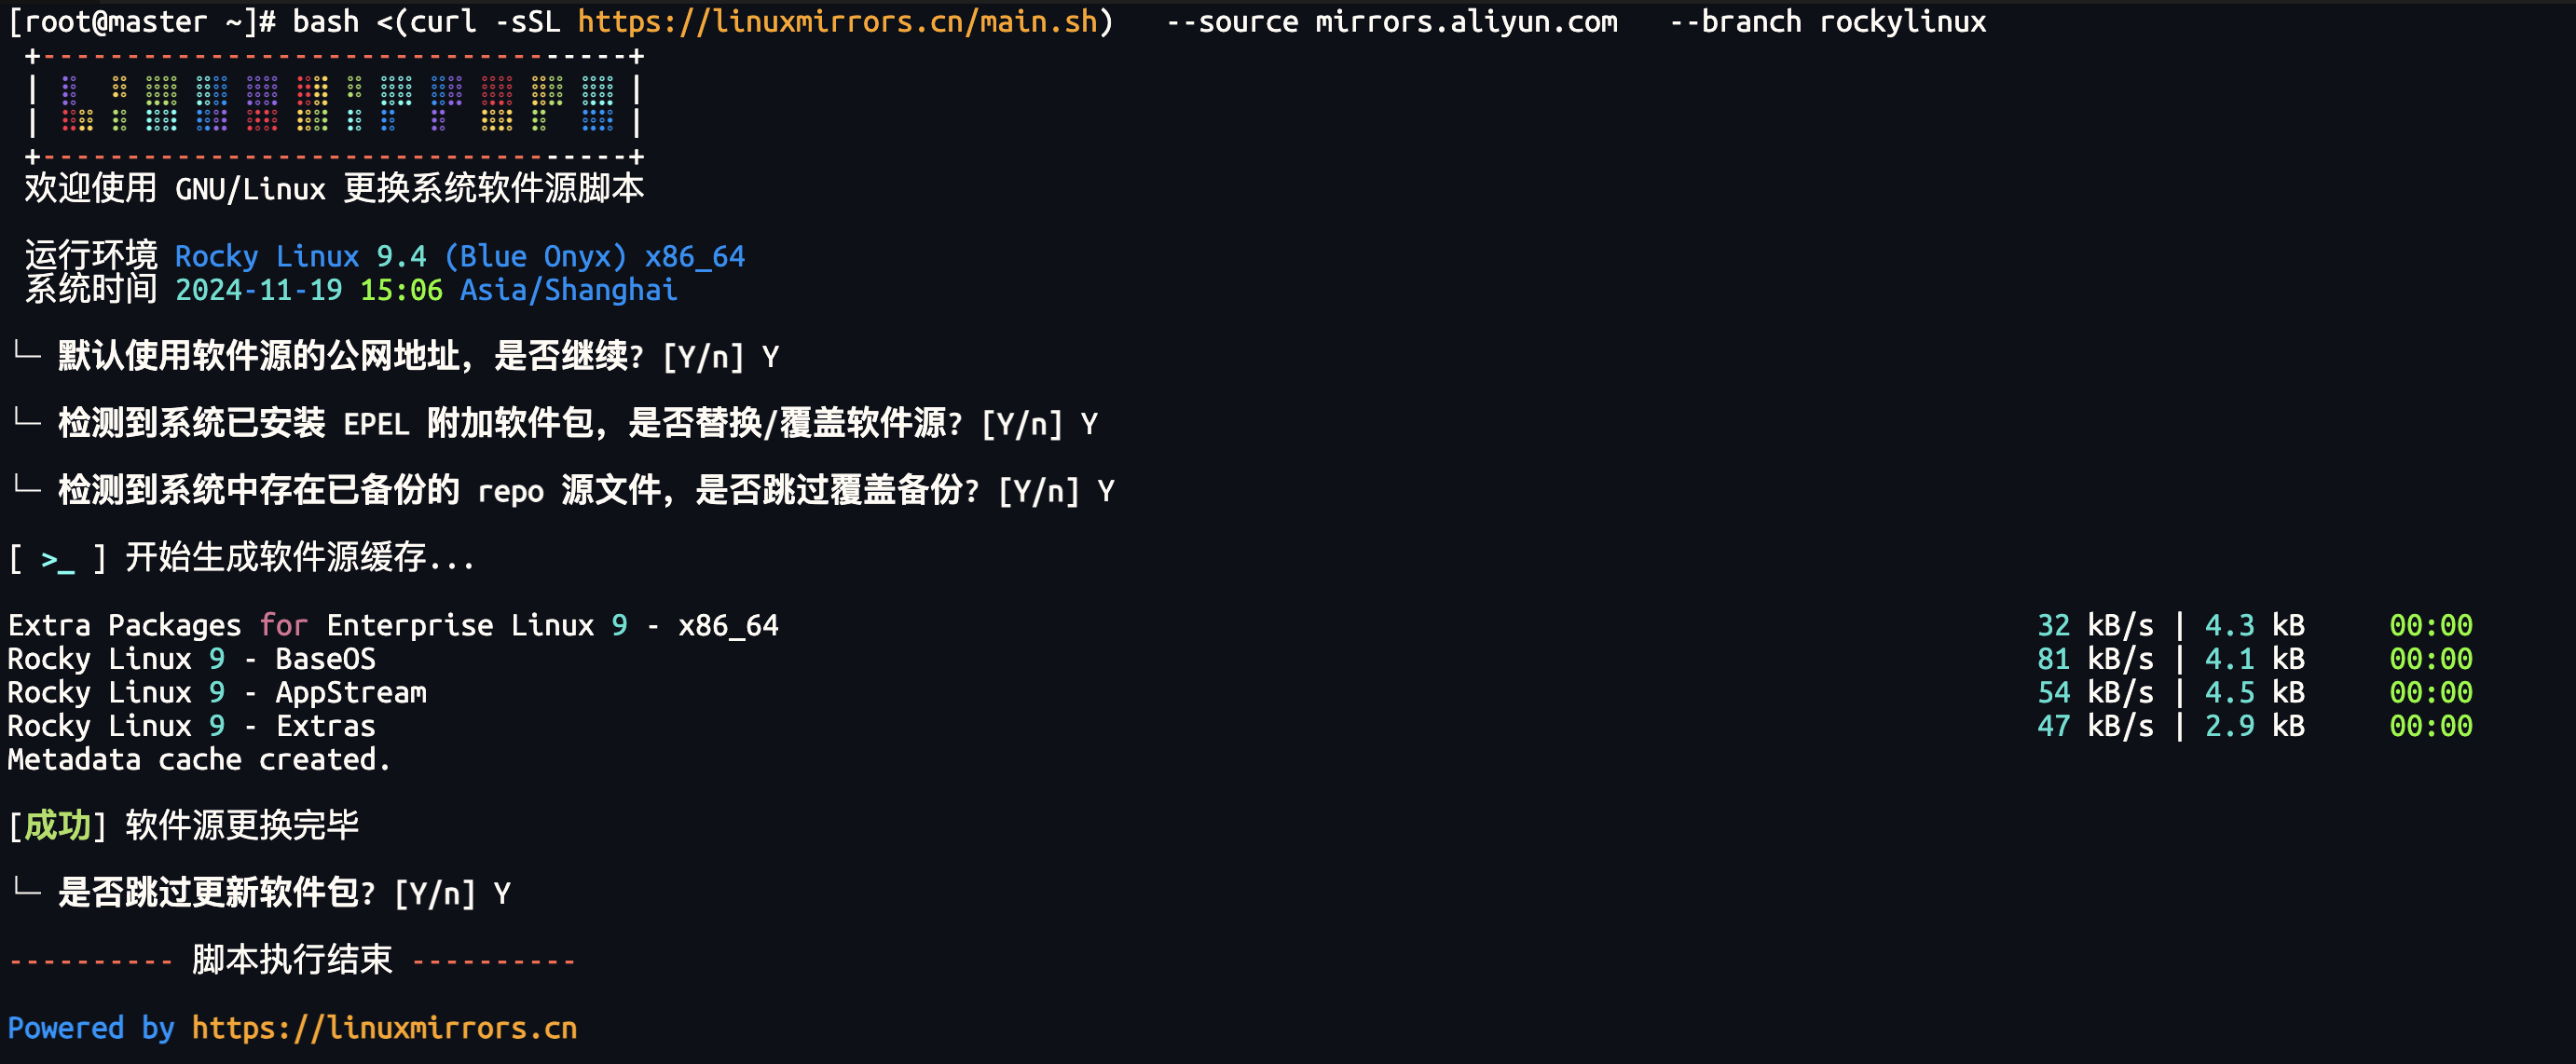
dnf makecache防火墙修改 firewalld 为 iptables
systemctl stop firewalld
systemctl disable firewalld

yum -y install iptables-services
systemctl start iptables
iptables -F
systemctl enable iptables
service iptables save
禁用 Selinux
setenforce 0
sed -i "s/SELINUX=enforcing/SELINUX=disabled/g" /etc/selinux/config
grubby --update-kernel ALL --args selinux=0
# 查看是否禁用,grubby --info DEFAULT
# 回滚内核层禁用操作,grubby --update-kernel ALL --remove-args selinux
# 设置时区
timedatectl set-timezone Asia/Shanghai
关闭 swap 分区
swapoff -a
sed -i 's:/dev/mapper/rl-swap:#/dev/mapper/rl-swap:g' /etc/fstab
安装 ipvs
yum install -y ipvsadm开启路由转发
echo 'net.ipv4.ip_forward=1' >> /etc/sysctl.conf
sysctl -p
加载 bridge
yum install -y epel-release
yum install -y bridge-utils

modprobe br_netfilter
echo 'br_netfilter' >> /etc/modules-load.d/bridge.conf
echo 'net.bridge.bridge-nf-call-iptables=1' >> /etc/sysctl.conf
echo 'net.bridge.bridge-nf-call-ip6tables=1' >> /etc/sysctl.conf
sysctl -p
安装docker
一键安装docker
bash <(curl -sSL https://linuxmirrors.cn/docker.sh)安装cri-docker
wget https://github.com/Mirantis/cri-dockerd/releases/download/v0.3.9/cri-dockerd-0.3.9.amd64.tgz
tar -xf cri-dockerd-0.3.9.amd64.tgz
cp cri-dockerd/cri-dockerd /usr/bin/
chmod +x /usr/bin/cri-dockerd
配置 cri-docker 服务
cat <<"EOF" > /usr/lib/systemd/system/cri-docker.service
[Unit]
Description=CRI Interface for Docker Application Container Engine
Documentation=https://docs.mirantis.com
After=network-online.target firewalld.service docker.service
Wants=network-online.target
Requires=cri-docker.socket
[Service]
Type=notify
ExecStart=/usr/bin/cri-dockerd --network-plugin=cni --pod-infra-container-image=registry.aliyuncs.com/google_containers/pause:3.8
ExecReload=/bin/kill -s HUP $MAINPID
TimeoutSec=0
RestartSec=2
Restart=always
StartLimitBurst=3
StartLimitInterval=60s
LimitNOFILE=infinity
LimitNPROC=infinity
LimitCORE=infinity
TasksMax=infinity
Delegate=yes
KillMode=process
[Install]
WantedBy=multi-user.target
EOF
添加 cri-docker 套接字
cat <<EOF > /usr/lib/systemd/system/cri-docker.socket
[Unit]
Description=CRI Docker Socket for the API
PartOf=cri-docker.service
[Socket]
ListenStream=%t/cri-dockerd.sock
SocketMode=0660
SocketUser=root
SocketGroup=docker
[Install]
WantedBy=sockets.target
EOF
启动 cri-docker 服务
systemctl daemon-reload
systemctl enable cri-docker
systemctl start cri-docker
systemctl is-active cri-docker
添加 kubeadm yum 源
cat <<EOF > /etc/yum.repos.d/kubernetes.repo
[kubernetes]
name=kubernetes
baseurl=http://mirrors4.tuna.tsinghua.edu.cn/kubernetes/yum/repos/kubernetes-el7-$basearch
name=Kubernetes
baseurl=http://mirrors4.tuna.tsinghua.edu.cn/kubernetes/core:/stable:/v1.29/rpm/
enabled=1
gpgcheck=1
gpgkey=https://pkgs.k8s.io/core:/stable:/v1.29/rpm/repodata/repomd.xml.key

[cri-o]
name=CRI-O
baseurl=http://mirrors4.tuna.tsinghua.edu.cn/kubernetes/addons:/cri-o:/stable:/v1.29/rpm/
enabled=1
gpgcheck=1
gpgkey=https://pkgs.k8s.io/addons:/cri-o:/prerelease:/main/rpm/repodata/repomd.xml.key
EOF
安装 kubeadm 1.29 版本
yum install -y kubelet-1.29.2 kubectl-1.29.2 kubeadm-1.29.2初始化节点
kubeadm init --apiserver-advertise-address=192.168.2.100 --image-repository=registry.aliyuncs.com/google_containers --kubernetes-version 1.29.2 --service-cidr=10.10.0.0/12 --pod-network-cidr=10.244.0.0/16 --ignore-preflight-errors=all --cri-socket unix:///run/cri-dockerd.sock -v=5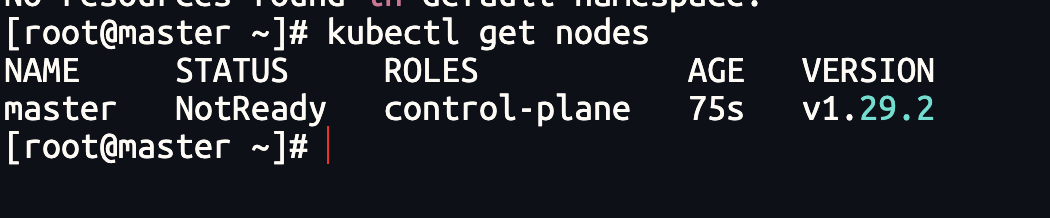
复制配置
mkdir -p $HOME/.kube
sudo cp -i /etc/kubernetes/admin.conf $HOME/.kube/config
sudo chown $(id -u):$(id -g) $HOME/.kube/config
安装calico网络插件
curl https://raw.githubusercontent.com/projectcalico/calico/v3.26.3/manifests/calico-typha.yaml -o calico.yaml其中要修改相关的配置
# 指定为 pod 地址
- name: CALICO_IPV4POOL_CIDR
  value: "10.244.0.0/16"
# 修改为 BGP 模式
- name: CALICO_IPV4POOL_IPIP
  value: "Off"
kubectl apply -f calico.yaml 
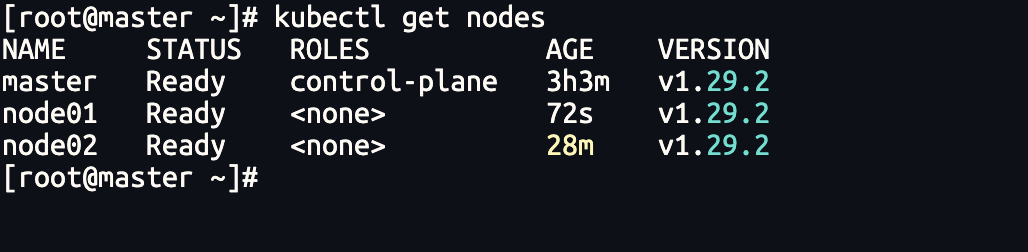
master 已经就绪
加入新的节点
kubeadm join 192.168.2.100:6443 \
  --token t19imw.wz75pj1jq4ag8aco \
  --discovery-token-ca-cert-hash sha256:03714fb3daa726dc7be863753063f0b8a254dac1ba3ed11cdb32dbeea021b458 \
  --cri-socket unix:///var/run/cri-dockerd.sock
注意新的节点也需要安装calico网络插件